Third Wheel Blog
Simple & Quick steps to Clean your Motorcycle Chain at Home
May 24, 2021
When it comes to motorcycle maintenance, cleaning the chains of bikes frequently is important for every biker because frequent surf is the interval for most motorcycles.
Cleaning motorcycle chains ensure that your motorcycle chain lasts long and keeps it from becoming a safety hazard. You get the most mileage out of your drive chain.
It is better to know how to clean bike chains so that you do not get stuck in the middle of the road and have to bring them to a shop for fixing them. And, we know it would be really inconvenient for you to go into a shop for such a minor thing.
The chain mechanism depends on the type of motorcycles you are using. It is essential for you to know what kind of chain is attached to your motorcycle. Different types of chains have their own care and lubricant feeding techniques. So, let’s get into some basic knowledge of chains.
Basically, we find plain chains and sealed chains in Motorcycles. Plain chains are the ones that do not have spaces between metal links. It is made up of inner and outer links. These two are connected with a rivet or a stake in between. In comparison to sealed chains, it is quite easy to clean.
Sealed chains are also popular as O-ring chains or X-raying chains. The seals on the chain are a delicate part of motorcycles. Hence, you need a gentle approach to cleaning. We will guide you on the right way to clean your motorcycle chain from the Third Wheel guide book.
Things required:
You will require the following things to clean the bike chain. If you don’t have these bike accessories, it's worth purchasing one. You can get these on any local auto parts showroom near you.
- Latex gloves
- Rags/ microfiber cloth
- Chain Cleaning brush
- Piece of cardboard
- Chain Lube
- Rear stand
- Chain cleaner
Step 1: Park the motorcycle on Stand
You need to set your Motorcycle in position. You can use the center stand or rear stand for parking your bike. If you don’t have a stand, it is worth buying a set of paddock stands.
The stands are useful not only while cleaning bikes but also for other purposes. Making the rear wheel spin freely above the ground is a lot easier to clean.
Step 2: Examine Chains and Sprockets
It is important to check your motorcycle chain in its present state. You can check any rush spots. Well, how do I know when to get my motorcycle chains changed? You find the chain is physically not so much plater. When you apply side-to-side pressure, the chain wiggles back and forth.
Also, when you apply compression, you find moving back and forth. If these symptoms show up, it’s high time that you need a chain replaced with new ones. The worn chain results in clusters leading to road accidents.
It is also essential to maintain sprockets in good condition. When you notice sharp sprockets, it's a sign that you need to change your sprockets. Proper sprockets have sharp teeth Chain and Sprocket work together as a system.
When you change the chain, it is worth getting a new sprocket as well. And, when you inspect sprockets, make sure that the apexes of the teeth are not curved.
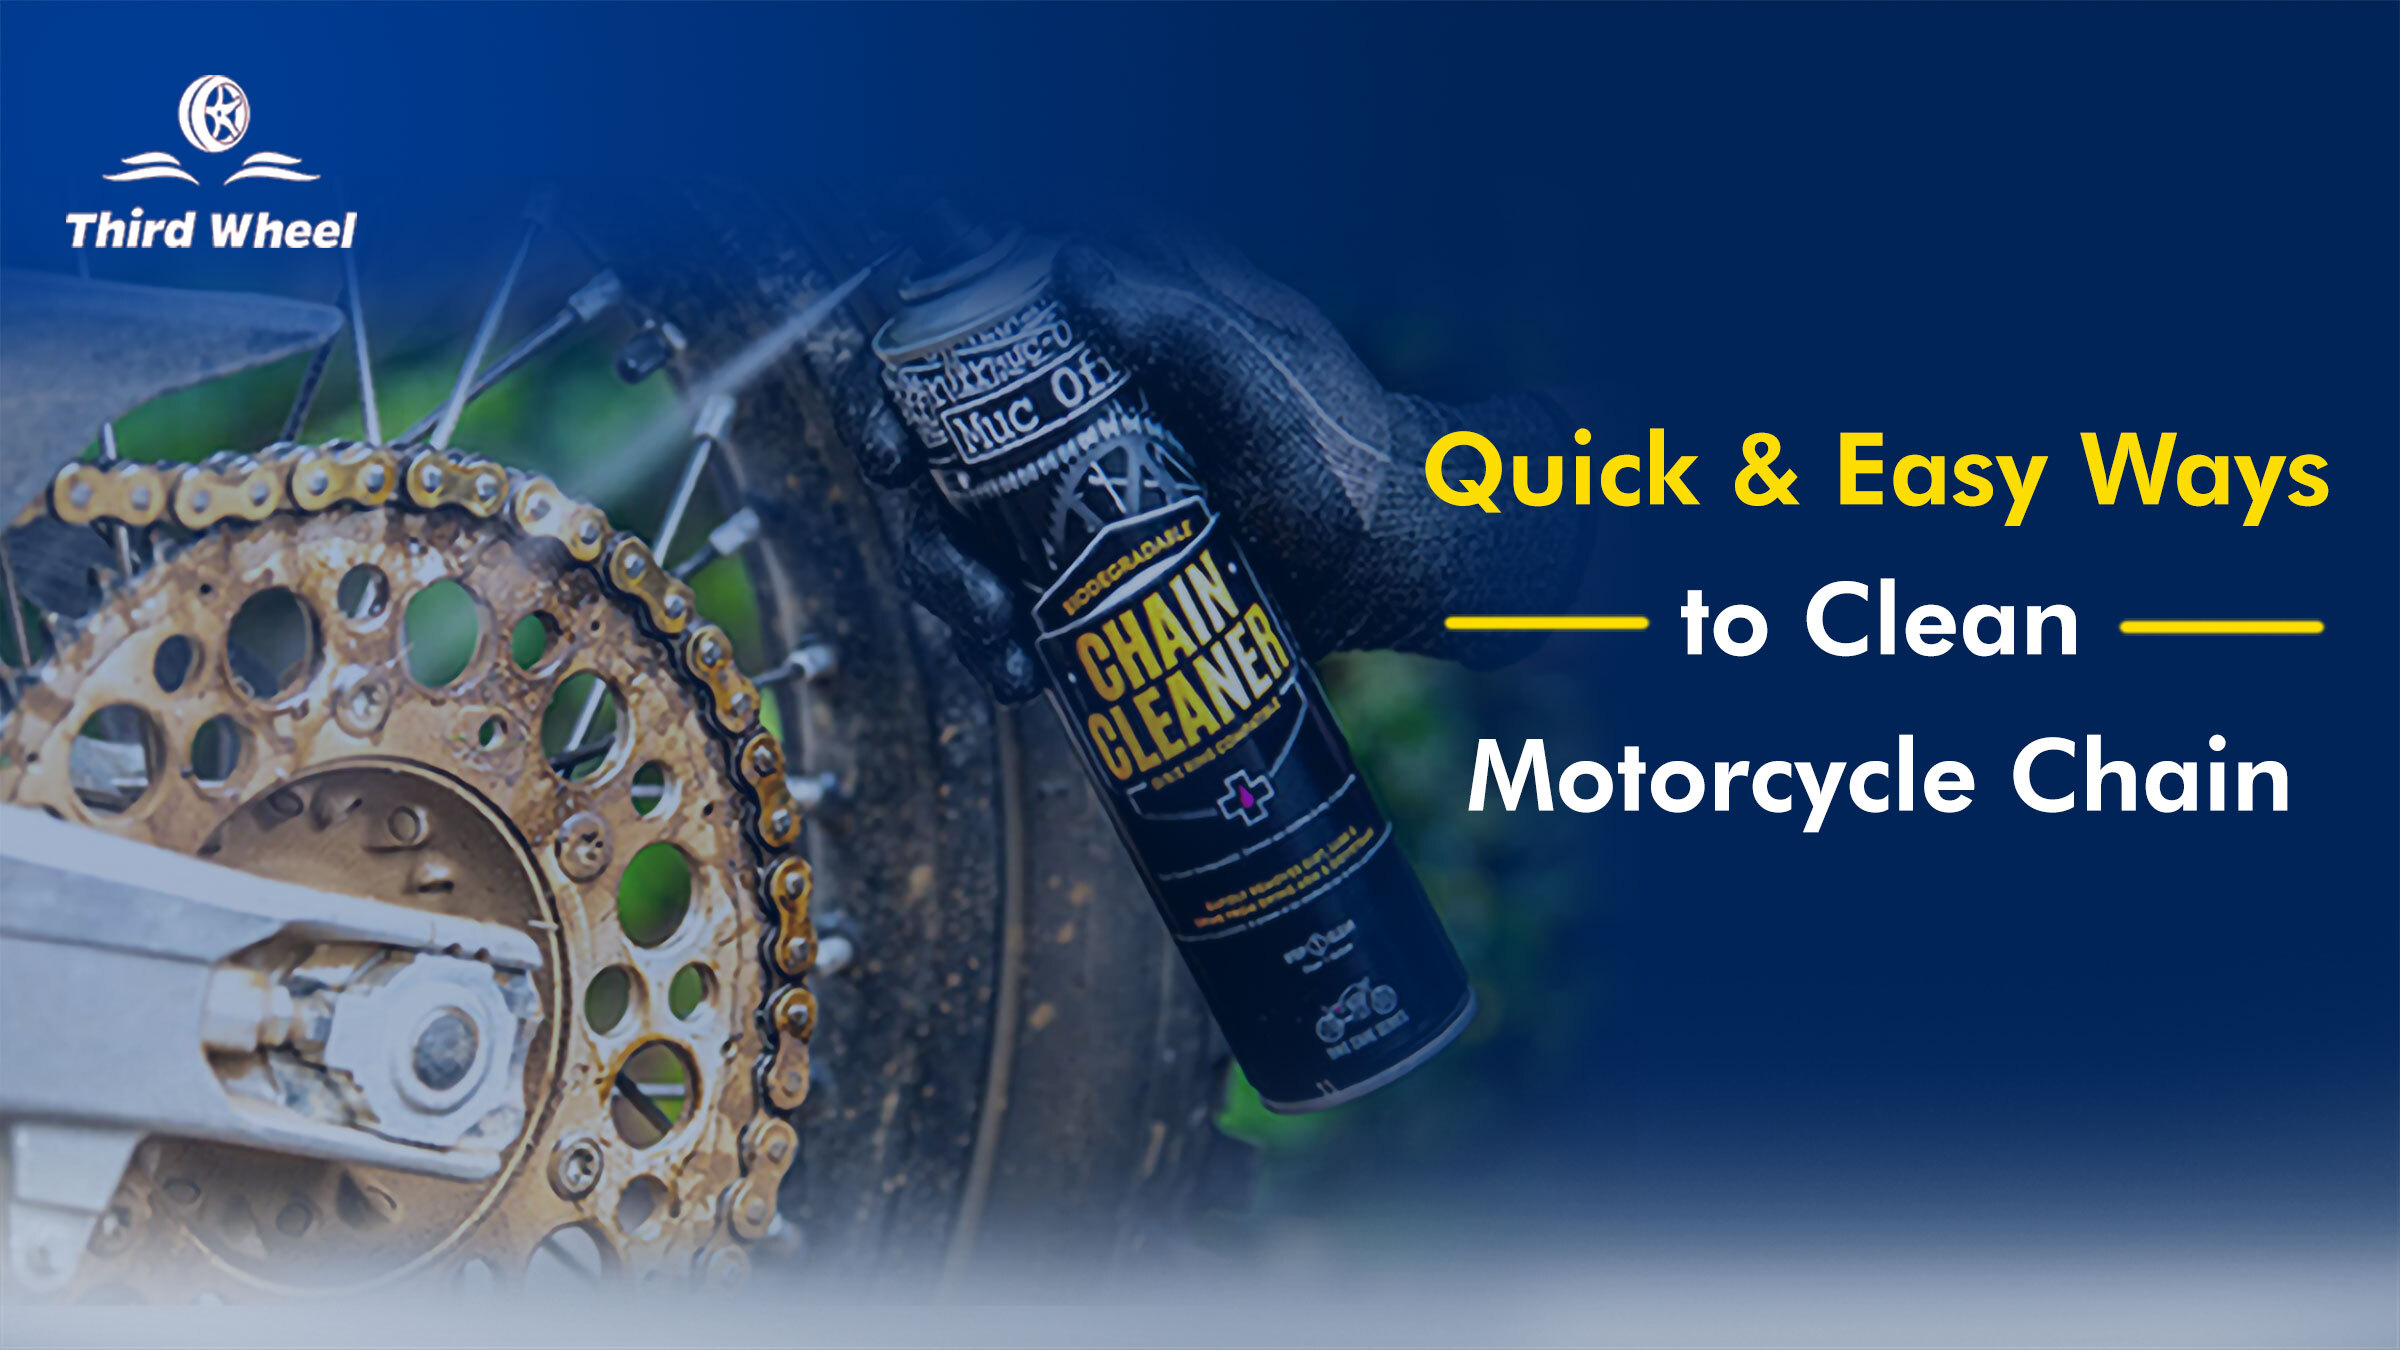
Step 3: Spray the Chain Cleaner
You can use commercial chain cleaners as we sell at Third Wheel. You can choose from your favorite chain cleaner. Using chain spray helps in removing lubricants and dirt. You can also use kerosene as a chain cleaner alternative. We suggest you use old kerosene.
Step 4: Cleaning
After you soak the chains with chain cleaner or kerosene, if the chain is not so dirty, you can just spray some cleaner on a clean rag and wipe off the dirt from the chain. In case you use thick and heavy lubricant or those people who get out in the dust, you further need to brush and scrub gently to remove all the gunk on your motorcycle.
Then, spray chain cleaner again. You need to make sure that the motorcycle is free from all the dirt. Also, remember to wipe the crud off your rear sprockets.
As discussed before, different types of chains go through their process of cleaning. If you have plain chains, you can have them cleaned harshly.
But, sealed chains require gentle cleaning. You should not use a brush with brass bristles. You can invest money in a grunge brush and use a Nylon brush to remove the dirt that the grunge brush left.
All you Need to Know about Chain lube in a Motorcycle |
Step 5: Lube the Chains
When the chain is cleaned, use a clean rag cloth to dry the motorcycle chain. We recommend you use a microfiber cloth. The motorcycle chain should be lubricated every 300-600 miles for better performance.
The main reason that we use lube on the chain is to reduce the probability of corrosion and lower friction. We apply lube on the overlapping portions of the links in the lower room.
Make sure that the chains are dried before applying lubricant on all sides of the chains. You should then spin the wheel with your right hand and use the other hand to lube inside links with one revolution of the chain.
Then, lubricate outside the link. Don’t forget to miss any items that are needed to be lubricated. Use lots of grease in plain chains.
But, sealed chains use lubricants on outside links. Once you have applied the lube, give it a moment to set up. Then, wipe off the excess lube.
If you apply too much lubricant, it will just make a mess of your rim and under tale. It will also attract dirt. The sealed chain doesn’t need to be doused in oil because the stuff that’s most acceptable to wear is already bathed, greased, and sealed with rubber O- rings.
Now, you are set for a smooth ride. If you are someone who is looking to purchase bike accessories, visit the shopping if you are on the Third Wheel website or you can simply select the Bike Accessories option on the Third Wheel app and the product is on your doorstep.
Your investment in products can help you maintain your bike/ scooter. We at Third Wheel also offer discounts on these products, so make sure you grab one during price cut-offs.
Other Recent Posts
- Our Office Closure Policy on Government Holidays – Keeping You Informed and Respected
- Thirdwheel Discontinues Bike Accessory Shopping – Stock Clearance Now Live!
- Respect Our Platform: Ethical Hacking Attempts on ThirdWheel (Online Bike/Scooter Servicing)
- Unlocking Value: Why Third Wheel Pvt Ltd's Bluebook Renewal Service is Worth Every Penny
- ThirdWheel App: Your Ultimate Car Care Solution